George’s Artistic Adventure: Cutting Glass
See the rest of this series here.
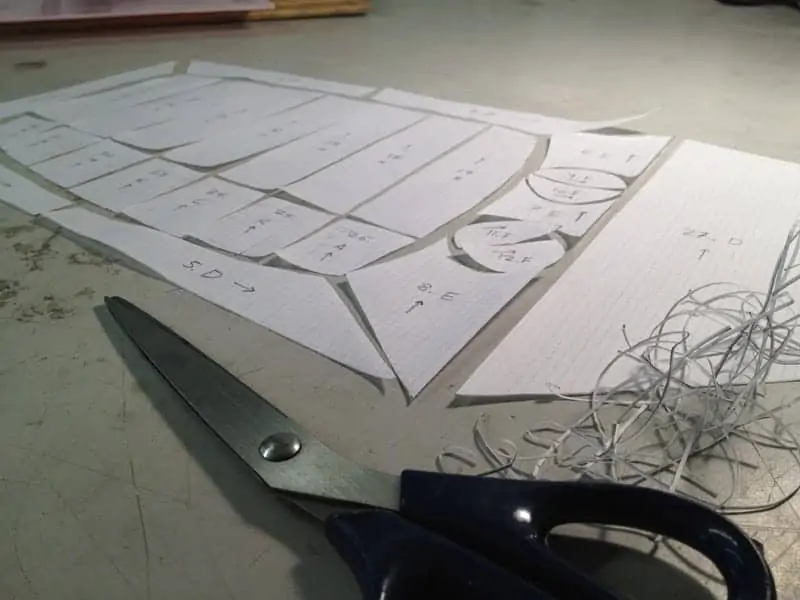
I had another fun Stained Glass class today and got to see my project start to take shape. After tracing my pattern onto vellum paper last time, today it was time to cut all the pieces out. Here’s what that looked like:
To cut out the pieces, I used special pattern shears for the copper foil technique I’ll be using later. They work like regular scissors, but they have three blades instead of two, so the middle one cuts out the 1/32” gap I’ll need between the pieces of glass. You can see the little pile of paper it takes out.
Here’s another look at what they do:
The next step is cutting glass. I got to start that today with my gray glass (Spectrum #180.8RR, which is rough rolled for texture) and my blue, which is actually antique mouth-blown glass. To cut them to the pattern shape, I paste the paper to the glass with a glue stick (face down, so the texture will be on the front of the finished panel) and score as close to the pattern as I can, breaking the glass after each score.
To get the shape exactly to the pattern, I’ll use the glass grinder later, but that comes after all the pieces are cut. Here’s where I am so far:
(This is what the inside pattern is supposed to end up looking like, kind of, by the way.)
Pretty exciting! I’ll be picking out the rest of my glass before next week’s class and I’ll blog about that soon.
— George
Can't get enough?
Sign up for our weekly blog newsletter, subscribe to our RSS feed, or like us on Facebook for the latest Art League news. Visit our homepage for more information about our classes, exhibits, and events in Old Town Alexandria, Virginia.


