How a 38-Layer Silkscreen is Made
The Art League Blog is taking a trip down memory lane and reposting some of our most popular art resources! Please enjoy this post from the vault, originally published May 6, 2016.
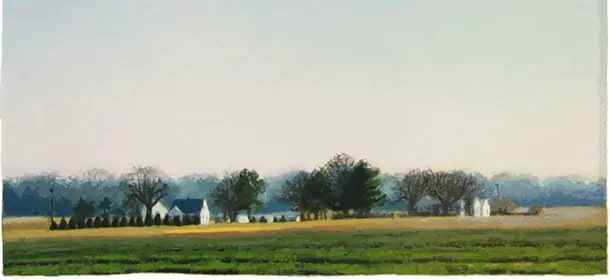
When you realize these are silkscreens — and not paintings — part of you wishes you could grab the paper and peel the image apart, to see each layer that builds to the final print. Right?
If it were physically possible, it would be a lot of work. Not as much work as making it, of course: each layer of transparent ink is printed separately using a block-out stencil, a silk screen, and a squeegee. And in Nancy McIntyre’s 2016 Art League exhibit, “Rhythms of Time,” the silkscreens varied from 13 all the way to 133 layers.
How is a silkscreen print made?
As you can imagine, it requires a lot of planning. While you can’t peel apart the layers, the next best thing is looking at the printer’s proofs, made during the long printing process as a record of some of the different stencils and colors used.
It all starts with a drawing …

Lotus was printed in an edition of 50, which means that there are 50 final prints. The first layer was printed onto all 50 pieces of paper first, then the stencil was removed from the screen and the second was painted on. Because the screen is reused and the stencil is destroyed, these printer’s proofs are kept as a record by the artist along with notes on what colors she used.
Where to learn more
The artist featured in this post, Nancy McIntyre, is also an instructor at The Art League. To see the classes and workshops she teaches in silkscreen, browse our catalog.
You can also see her demonstrate a simple block-out stencil in this video from our YouTube channel:
Can't get enough?
Sign up for our weekly blog newsletter, subscribe to our RSS feed, or like us on Facebook for the latest Art League news. Visit our homepage for more information about our classes, exhibits, and events in Old Town Alexandria, Virginia.


